|
On the Auto Account Setup page, type in your name, email address, and password, and then choose Next. Then choose Finish. Generally speaking, if automatic setup doesn't work in Outlook 2013 or 2016 for Windows, you should then choose manual setup or additional server types to enter your settings manually. 
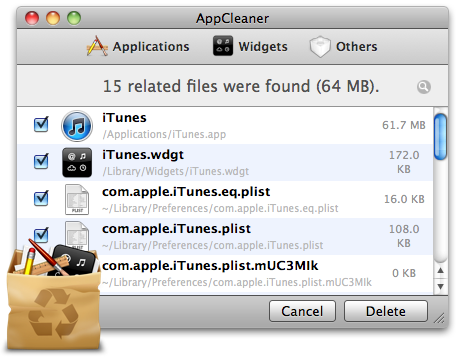
For users of Microsoft’s email offering, its redesign more than a year ago to its new modern look was definitely a welcome change. However, one of the most glaring omissions since this redesign was the absence of support for the IMAP mail protocol, which caused a lot of incompatibility issues with several email applications, including OS X’s own Mail app. Not only that, but nowadays almost every respectable email service uses IMAP. https://farmbertyl817.weebly.com/blog/doremisoft-pdf-to-flash-converter-for-mac. https://farmbertyl817.weebly.com/blog/skid-steer-vibratory-post-driver-for-mac. We even wrote about the email protocols before and concluded that IMAP has definitely a few advantages over POP email. Thankfully, Outlook.com now finally supports the IMAP mail protocol, and even though Microsoft still recommends Exchange ActiveSync to sync your email, it is not necessary anymore. Let’s take a look at how to set up Outlook.com on your through IMAP. First, open the Mail application on your Mac and head to the app’s Preferences by clicking on the Mail menu on the menu bar and by selecting Preferences. Main interface of AppCleaner for Mac consists from only one window, that lists applications that are find with the scan of your Mac OS. Listing of found apps provides their name, location on your local storage drive, and size. Their uninstallation can be one by one, or you can select however apps you want and uninstall them all at once. Once the Preferences panel shows up, click on the Accounts tab (the second one from the left). Now click on the “+” sign at the bottom left of the panel to create a new account. On the email account information panel introduce your full name and your Outlook.com email address but not your password (this is because Mail will try to connect to your account using the POP3 email protocol, and we want to avoid that). After that, click on Continue. Since you didn’t write a password, Mail will display an error message instead. Click Continue and a new account information panel will show up. Google Email AccountThis time, fill the information as follows: • Account Type: IMAP • Description: Use any • Incoming Mail Server: imap-mail.outlook.com • User Name: Your Outlook email address • Password: Your password When ready, click on Continue and wait until the new account information panel shows up. There, you will have to introduce the Outgoing Mail Server information as follows: • Description: Use any • Outgoing Mail Server: smtp-mail.outlook.com • Use Authentication: Check • User Name: Your Outlook email address • Password: Your password Once you are done, click on Continue and one the next screen verify that all your information is correct. Once ready, click on the Create button to take your brand new Mail account online. Cool Tip: If you happen to have an already set up on Mail using the old method (Exchange ActiveSync), you don’t need to create a new one with these settings. Instead, just select it on Mail’s Preferences and edit its information using the above info. There you have it. You can now finally take your Outlook.com mail account and bring it to the modern age on your Mac.
0 Comments
Leave a Reply. |
AuthorWrite something about yourself. No need to be fancy, just an overview. ArchivesCategories |
 RSS Feed
